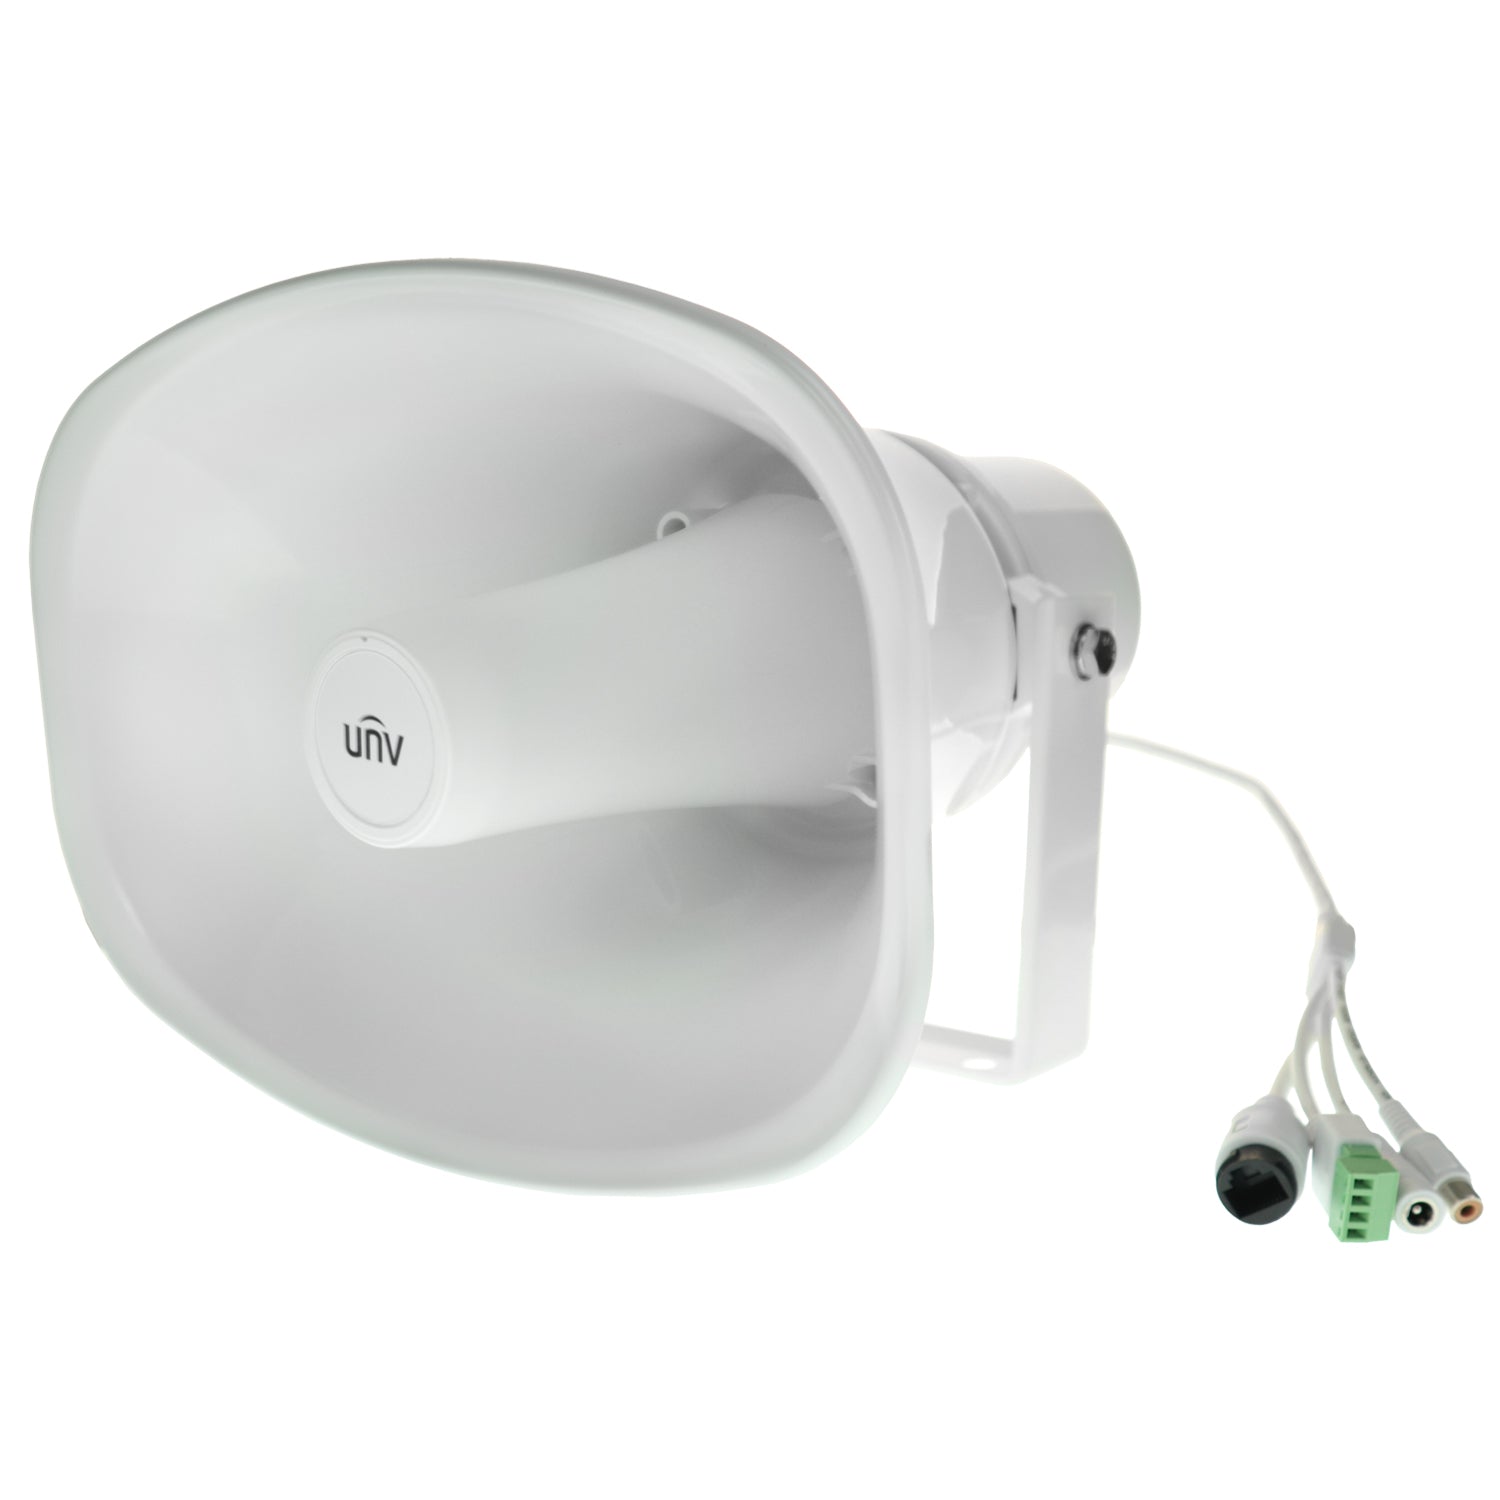

The Uniview Outdoor IP Loudspeaker (IPS302030-S) has some incredible capabilities. We’ll go through all of them generally, and then dive in a little deeper. If you'd prefer a video format, check out the video right here:
General Overview:
So, let’s start with some basic specs. The maximum volume this speaker can reach is 130 decibels, (for reference, that’s about the same volume as the siren on an ambulance). You can adjust the audio output level easily if that’s overkill. With 2-way audio support, you can hear what’s going on outside, as well as speak through the device in response using the UNV-Link User app. For a truly customizable experience, you can forgo the provided alarms and sounds in favor of custom audio files you can upload to the speaker’s built-in storage. And don’t worry about covering this speaker, as it has a weatherproof rating of IP66.

When you open the box, you’ll notice that the only hardware included is a waterproof collar for the ethernet port. You’ll need to provide the rest of the installation materials yourself. Make sure you have some wide washers as the mounting points are wider than most standard screws. In my case, I used some brackets. I also preferred to use a wrench to remove the side bolts holding the handle to the speaker body. This allowed me to screw in just the handle without worrying about the clearance when it was attached. The speaker feels sturdy while also still being light enough to easily lift overhead for installing.

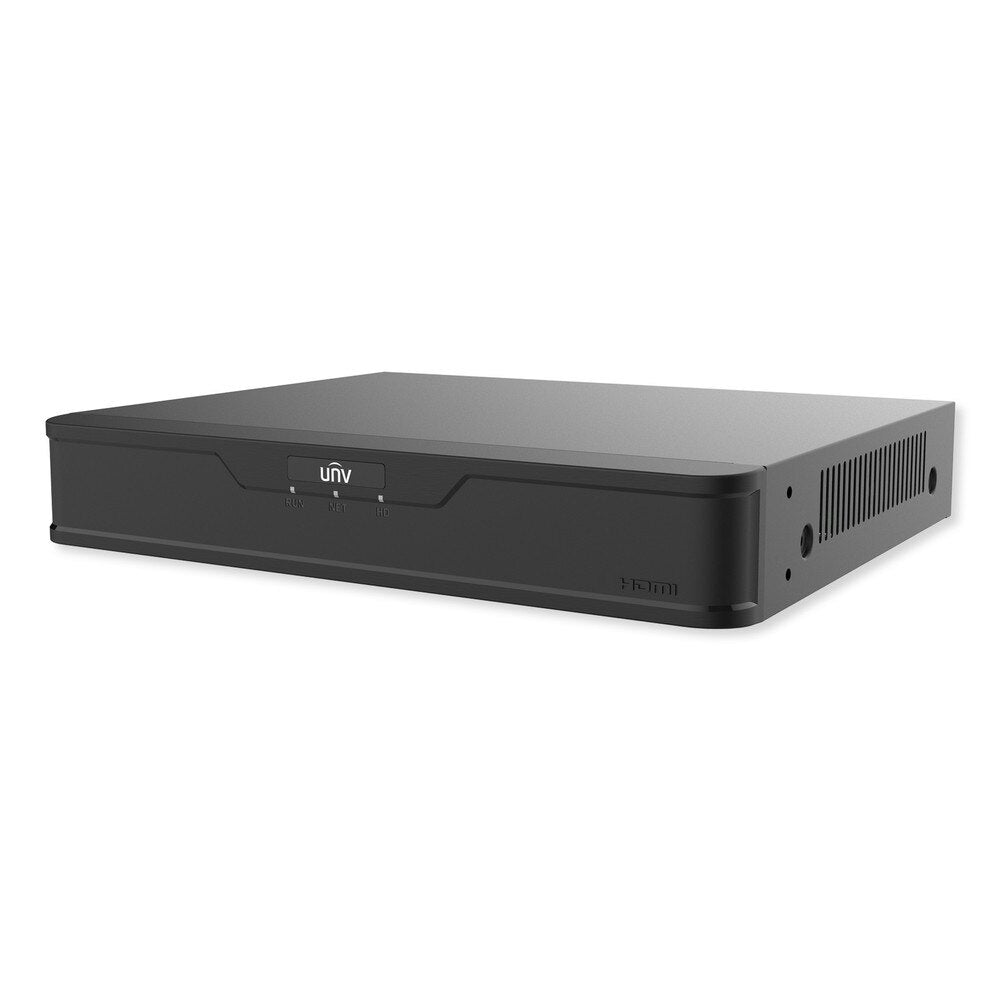
After the install, I just plugged in the ethernet cable since we have PoE. A power cable is attached as a non-PoE alternative. The loud speaker also has an alarm input if you’re planning to have alarm cables directly wired to it (handy for those who want or need to skip the NVR entirely.) We’ve got an NVR here at Nelly’s, so we won’t need it.
Navigating The Web Interface:
In order to get the software side of things set up, we first need to find the IP address with EZ tools. Then enter the address in the web search bar, and use the following default login credentials on the web page that pulls up:
Username: admin
Password: 123456
Here’s what each tab in the interface means:
-
System
-
Where you can name the device on your network, set the time, account for daylight savings,and add a level of security in 2 ways. 1) you can create a dynamic factor key for SSH (Secure Shell Protocol) and 2) you can enable an HTTPS page and generate a valid certificate for the encryption.
-
Network
-
You can enable DHCP, or you can manually assign an IP and port. You can also handle any necessary port mapping (port-forwarding) in this section as well.
-
Audio
-
You can adjust the volume level of your input and output. This is also the spot to upload custom mp3 files for sounds. You can record your own voice for PSAs, add custom alarm sounds, or even upload a song.
-
Alarm
-
Where you can configure the aforementioned alarm cable setup.
-
Broadcast
-
You can schedule out your broadcasts. Which days and times and the frequency.
-
Maintenance
-
This is for any updates and diagnostic info.
NVR Setup:
Once you have everything configured to your liking, you’re ready for the NVR setup. You can add the speaker in the “Peripherals” > “IP Speaker” tab. Simply enter that IP Address again, and use the username and password from the web interface (unless you’ve already changed it. Which you should.) At the top, there is also an “audio file” tab and that is another place that you can upload custom sounds to.
In the "alarm" section, make sure you determine the detection mode and designate the areas you want to have watched for the camera you’re connecting the speaker to. The "trigger actions" tab is where you can determine how the system responds to intrusion events. What’s cool about some of the most recent IP cameras is that they support an “Ultra Detection” mode which lets you specify the onboard AI to only be alerted when it detects human motion. No more cars, stray cats, or a wayward leaf on the wind triggering your system.

The “Trigger Actions” tab is where you can determine how the system responds to intrusion events. Pick the camera you want, choose the “alarm sound” option, and click the cog wheel. This takes you to a dropdown menu of available sounds to choose from. Lastly, make sure you have your camera chosen in the “recording” option, so that way it’s easier to go back and find the footage of the intrusion event.