Bullet security cameras are a dime a dozen. So why did the world need a new one? Because we believe the best security technologies should be readily accessible and available for you to use in your homes and businesses. That’s why we’ve packed all the greatest bullet camera features into one small but powerful camera body, all at a price point to fit any budget. Introducing the beautiful and the powerful R-Series Fixed Lens Bullet Camera.

The Outstanding Specs of the Fixed Lens Bullet
Our R-Series line of products is focused on simplicity and affordability. That said, they’re not overloaded with a ton of features. Instead of producing an expensive camera that can do everything well, we decided to bring you a camera that can do a few things excellently. We’ve taken out the fluff and boiled everything down to the features that you need in a good security camera.
Check out the following promo video for a quick overview of some of this camera's standout features.
Three Resolution Choices
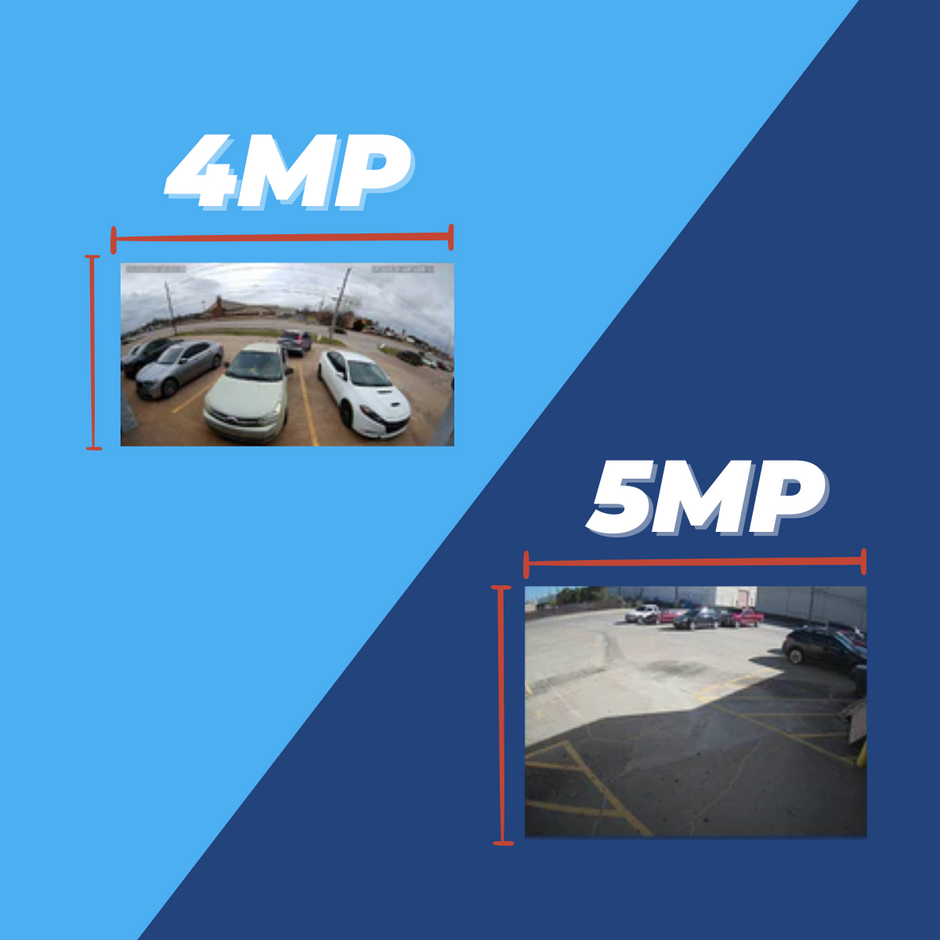
Pick from three different incredible resolutions, ranging from FullHD 1080p to 4K UltraHD. Other than resolution and field of view, each of the three models are essentially the same camera. The higher resolution, the higher the price. Check out the images below to get an idea of which resolution may be best for you.
Lens Information
Each model has a fixed lens at a length of 2.8mm. This lens provides a wide field of view and allows you to see the bigger picture of your scene. Each model has a slightly different field of view.
- 2MP: 103° FOV
- 5MP: 92° FOV
- 8MP: 111° FOV
Excellent Nighttime Imagery
These cameras have an infrared range of around 100 feet. Bullet cameras are known for their incredible nighttime imagery, and these cameras are no exception. Enjoy excellent video footage day or night.
Durability
These bullet cameras may look small. In fact, their form factor is smaller and more compact than most other fixed lens bullet cameras out there. But don’t let that fool you. Packed within this small body is a tough metal construction. This, combined with their IP66 weatherproof rating, means that these cameras are ready for anything that may come their way.
Unboxing and Installing Your Bullet Camera
Even if you’ve never used a security camera in your life, you’ll be able to get this one installed and activated pretty quickly. Before we jump into the installation, let's take a look at everything that comes in your camera's box.
- Quick Start Guide featuring easy-to-follow instructions for getting your camera installed and set up
- 2.8mm Fixed Lens Bullet
- Weatherproof Grommet for weatherproofing your connections
- Mounting Hardware including screws, drywall anchors, and a hex wrench.
- Mounting Template for 100% accuracy in drilling holes.
Now we're ready to get our camera set up. Again, this takes almost no time at all. The hardest part is going to be running your cable, but since we can power these with PoE (power over Ethernet), we'll only need to run one Ethernet cable, either to the PoE switch in the back of our NVR or to a separate PoE switch.
We'll break this section up into three short sections: preparation, installation, and adjustment.
Preparation
To prepare for installation, place your mounting template where you're going to be installing your camera. Drill three holes for the screws and one big hole for the cables. The cable hole is optional, as you can also run the cables through the side of the base.
Connect your camera to your Ethernet cable.
If your Ethernet cable connection is going to be exposed to the weather, install the weatherproof grommet. (We show you how to install one of these in this video, just disregard the section about the junction box).
Installation
Run your cable through the hole you drilled (optional) and position the camera's base into place. Screw the three screws into the wall or ceiling and... that's it! Your camera's installed!
Adjustment
This camera is super easy to fine-tune to the perfect position with its triple-axis adjustments. You'll need the hex wrench for this step. Each axis has its own hex screw so you can adjust one axis without messing up the others.
Accessing Your Cameras
Now that your camera is installed and connected to your network via Ethernet, it's time to activate the camera. There are three ways to do this: with an R-Series NVR, a third party NVR, or remote access with a phone or computer.
Plug-and-Play with R-Series NVRs
If you have an R-Series NVR, all you have to do is plug your camera's Ethernet cable into the PoE switch in the back of your recorder. You don't even have to open up a menu or type in a password. Just plug it in and get instant video.
ONVIF Compatibility with a Third Party NVR
If you have an NVR that's not a part of our R-Series, you can still add this camera to your recorder as long as it's ONVIF compliant. For this, you'll have to jump into the menu of your recorder and manually add the camera's IP address to your recorder via the ONVIF protocol.
Instant Remote Access from your Phone or Computer
Simply scan your camera's QR code with your phone for quick and instant video in the EyeCam app. Alternatively, you can log into your camera on the CamViewer desktop application for quick access from your computer. With the mobile and desktop apps, you don't even need a recorder for this camera. Simply use it as a standalone device. You won't be able to automatically record, as there is no SD card slot. But you will still be able to get motion alert push notifications, manual recording from your phone and computer, and so much more.
Final Thoughts
Are you ready to take one of these cameras for a spin? Don't pay so much extra money for a camera full of features that you're probably never even going to use. Check out the R-Series fixed lens bullets by clicking the buttons below. Or click here to check out all of our R-Series products.


